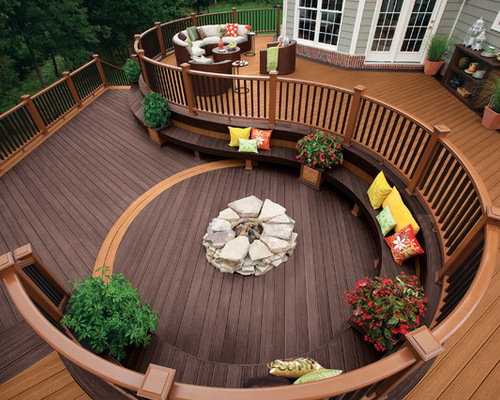
Is your garden looking a little tired and unloved? With the summer months approaching, now is a great time to get your hands dirty and whip your outdoor space into shape.
The psychological benefits of gardening have been well publicised and for some, that might mean even simple tasks such as cutting the lawn or removing any weeds. Others may only have a small area to play with, in which case a few well-placed potted plants can work wonders.
Perhaps you’re one of the more fortunate ones and you have a decent amount of room at your disposal? In that case, building some decking can transform your garden and offer you somewhere to sit and unwind at the end of a long, hard day with a nice meal and perhaps a drink or two. With that in mind, we’ve put together this handy guide.
Plan carefully
Like any landscaping project, building a decking area requires a detailed plan:
- You need to measure out the space and make sure it’s not going to look too big or too small in relation to the rest of the garden.
- Next, you’ll need to prepare the ground, ridding it of any rocks or weeds to ensure it’s even. You might want to consider laying concrete pads to rest your decking on. These will provide greater stability and will increase the longevity of your timber by reducing damp and rot.
- If you want to lay your decking straight on the ground, it’s best to first put down some weed control fabric and then a layer of gravel.
- You’ll also need to make sure you have the appropriate tools. These will include a tape measure, spirit level, screws, drill, circular saw and a work bench, to name just a few.
Choose your timber
There are plenty of options for you to choose from when it comes to selecting the materials for your decking:
- Hardwood or softwood? Hardwood species include teak and oak and are typically more weather resistant than softwoods such as pine, spruce or cedar.
- Pressure treated wood is a popular choice for decking. Usually, it is softwood (often pine) that has been treated to afford it greater protection from water and insects. It’s a cost-effective option and therefore a common choice for homeowners.
- If you’d prefer a more classical look, you might want to consider redwood or cedar, although these can require a little more maintenance.
Assemble your frame and boards
Now it’s time to get cracking with laying some timber:
- First, do a dry run by laying out your joists and decking boards to ensure it looks right. Remember to account for a 5mm expansion gap between the length of the boards and a 3mm gap where their ends meet.
- Measure your deck frame and cut it to size using a circular saw and a work bench. Safety is paramount here, and SGS’ guide to using a circular saw can help you.
- Drill countersunk holes in the four joist corners and then screw them together. Once the four corners are fixed in place, repeat this process with your inner joists.
- Now it’s time to lay your first decking board in place and cut it to fit.
- Screw your first decking board into every joist it crosses. Where there are end-to-end joins, place each board halfway across the joist and leave a 3mm expansion gap.
- Repeat this process for all the remaining boards until the decking is complete.
- Once finished, sand off any rough edges and coat the board ends in preserver to counteract rot, then cover the whole decking in stain, wood paint, or oil. This should help to protect it from adverse weather conditions.

Leave a Reply